Pneumatic and tactile metrology
Standard components for simple and complex measuring chains
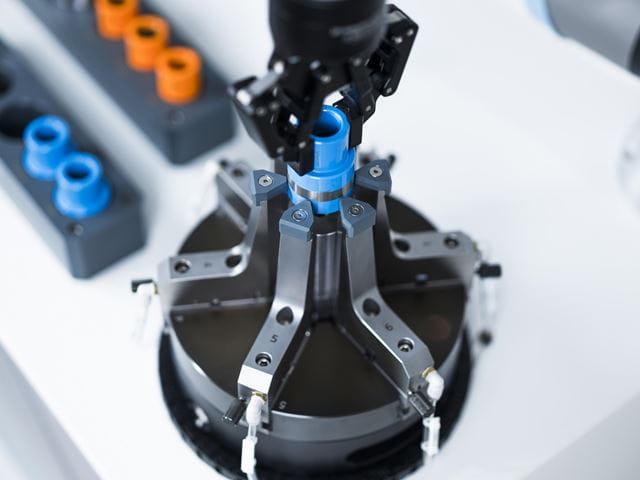
Our dimensional metrology checks diameters, lengths, distances, shape, and position of your workpieces either with tactile or pneumatic sensors depending on measuring task and process-integration. The robustness and precision of our measuring solutions are the result of the know-how we have acquired over several decades. This experience can be found in our standard modules developed in-house and which equip our customers‘ simplest „at-line“ manual measurement gages as well as their complex measuring machines, integrated into the most efficient production lines.
Pneumatic measurement convinces with a very high resolution. It is extremely robust and insensitive to dirt, making it perfect for use under tough manufacturing conditions. Our pneumatic process meets the high standards of DIN 2271.
Tactile measurement uses contacting sensors that record the measured values extremely quickly. Typically, tactile sensors are used in multi-point measurement technology where the individual measured values must be recorded quickly in order to maintain a short cycle time.
- Pneumatic measuring components
- Tactile measuring components
- Programmable display
- Probe satellites
- Measuring computers
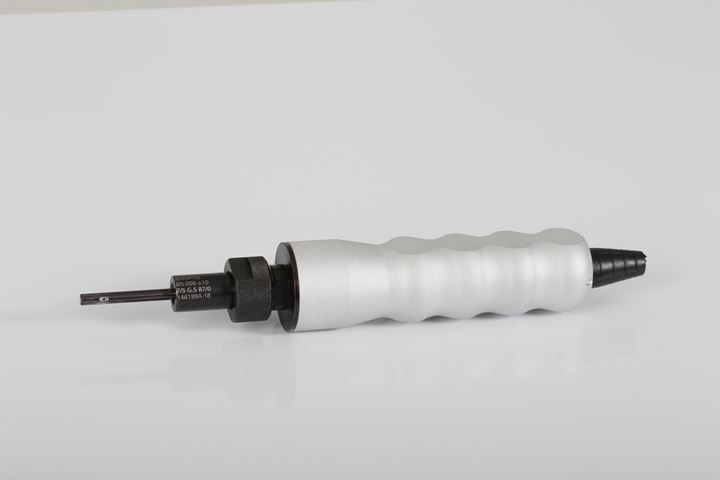
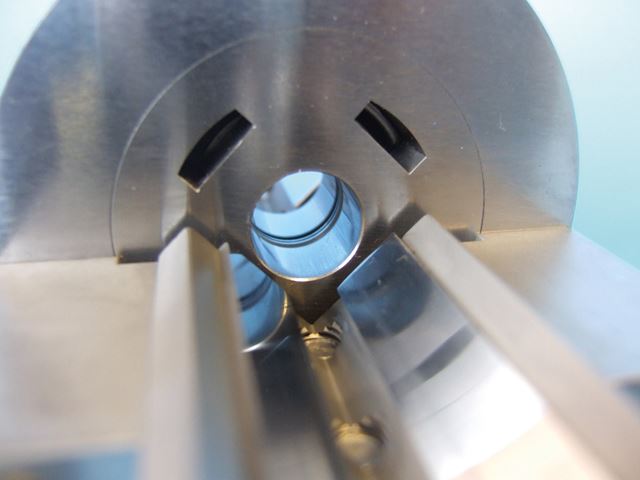
Air spindle
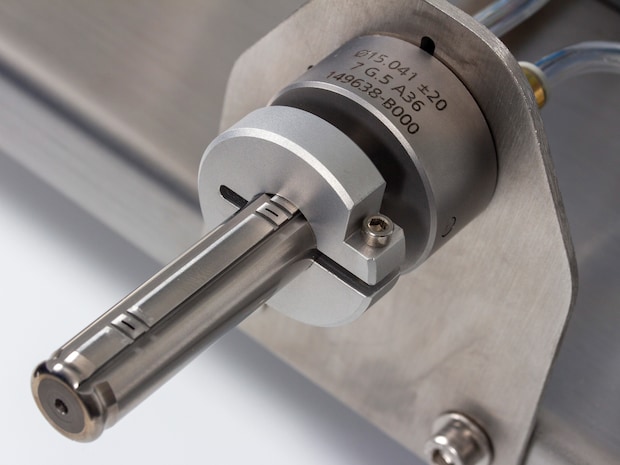
Air spindles AG100
- For through-hole and blind holes
- Static or dynamic measurements of runout, taper, and optional triangulation
- Repeatability of less than 0.25 µm
- Easy adjustment using a reference ring with a known dimension
- Adjustment of the length and position of the nozzles as required
- Use in conjunction with display devices or measuring computers
- Standard or customized (from 1 to 600 mm)
Download

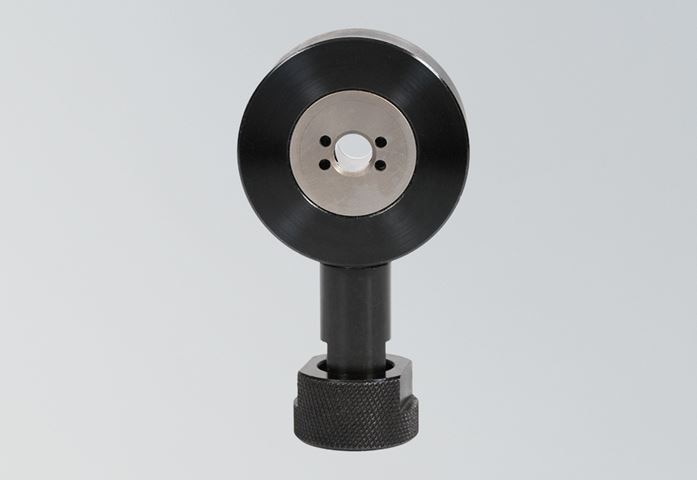
Air ring
Air rings AG200
- For uninterrupted and interrupted outside diameters
- Measurement in one plane with two or three nozzles for measuring runout or triangulation
- Static or dynamic measurements
- Repeatability of less than 0.25 µm
- Easy adjustment using a reference ring with a known dimension
- Adjustment of the length and position of the nozzles as required
- Use in conjunction with display devices or measuring computers
- Standard or customized design
Download

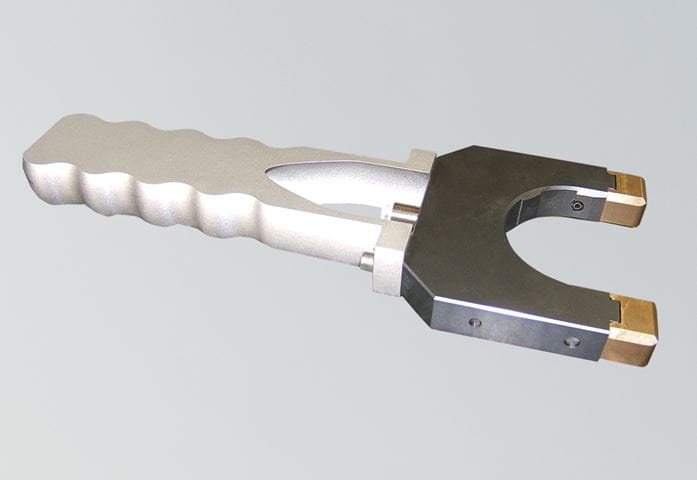
Air snap gauge
Air snap gauges AG300
- For uninterrupted and interrupted outside diameters
- Measurement in one, two, or three planes for measuring runout, taper, and cylindrical shape
- Static or dynamic measurements
- Repeatability of less than 0.25 µm
- Easy adjustment using a reference ring with a known dimension
- Adjustment of the length and position of the nozzles as required
- Use in conjunction with display devices or measuring computers
- Standard or customized design
Download
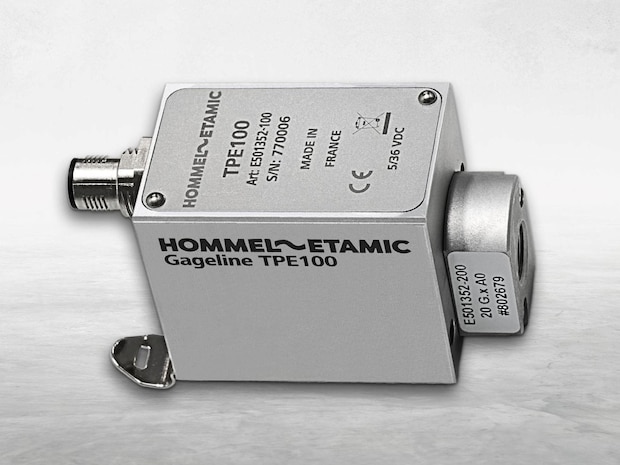
Pneumo-electronic transducer
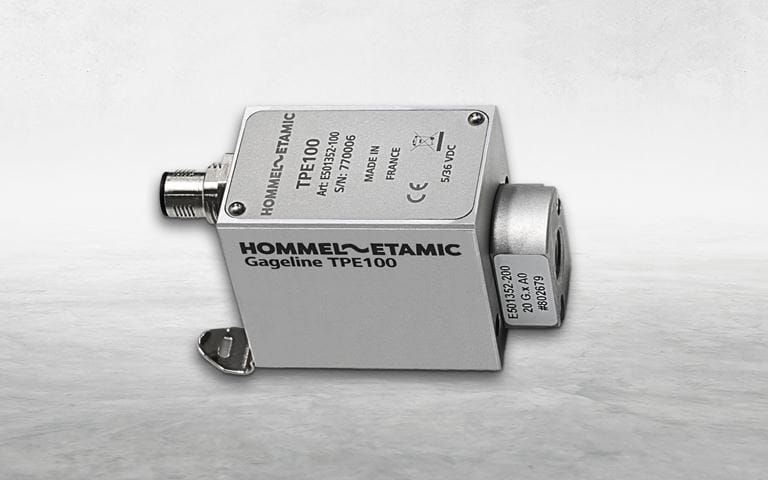
Pneumo-electronic transducer TPE100
Pneumatic-electronic transducers convert a pneumatic signal into an analog or digital CANopen signal and thus represent an essential link in the pneumatic measuring chain. They are extremely compact and offer very high precision with extremely short response times.
Download
Tactile measurement technologies offer excellent quality, reliability, and robustness. Tactile sensors are particularly suited for large tolerance ranges and for workpieces with distinctive roughness characteristics.
Inductive sensors
- Straight LVDT sensors
- Straight LVDT sensors with pneumatic lifting
- Straight LVDT sensors with pneumatic push
- Mini LVDT sensors
- Straight LVDT sensors with floating core
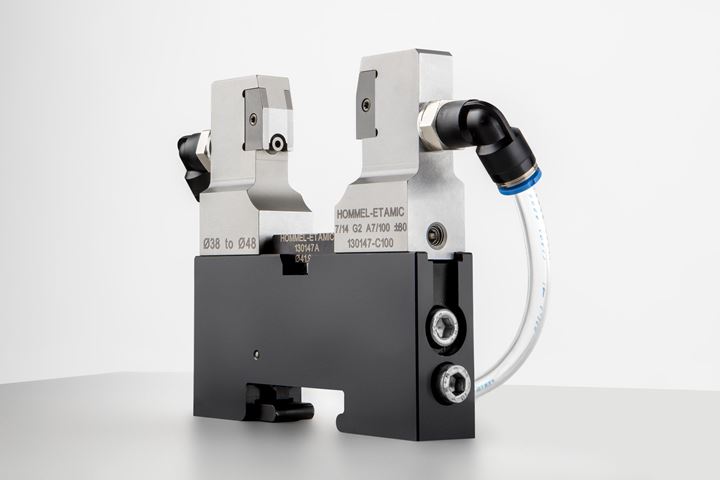
Measuring blocks
- Fully stainless steel and Viton valve
- Stroke from 1 to 11 mm depending on type
- Clamping for all types of sensors
- Interchangeable thrust spring and low measuring force
- Lifetime up to 20 million cycles
- Constant measuring pressure
- Mechanical protection of the sensor
Downloads
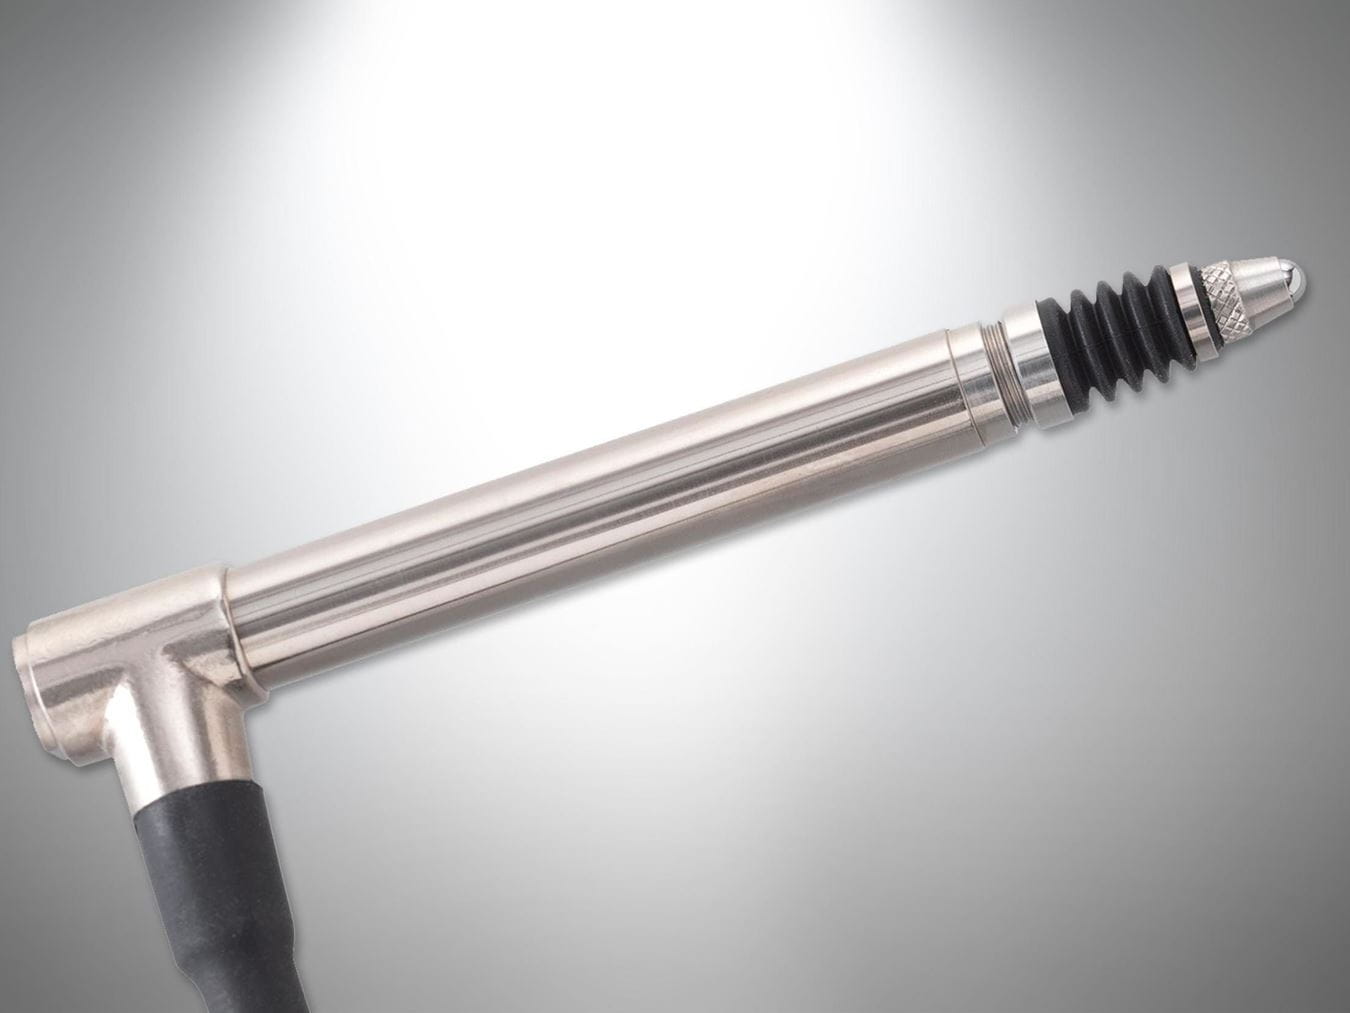
Inductive sensors ZDB
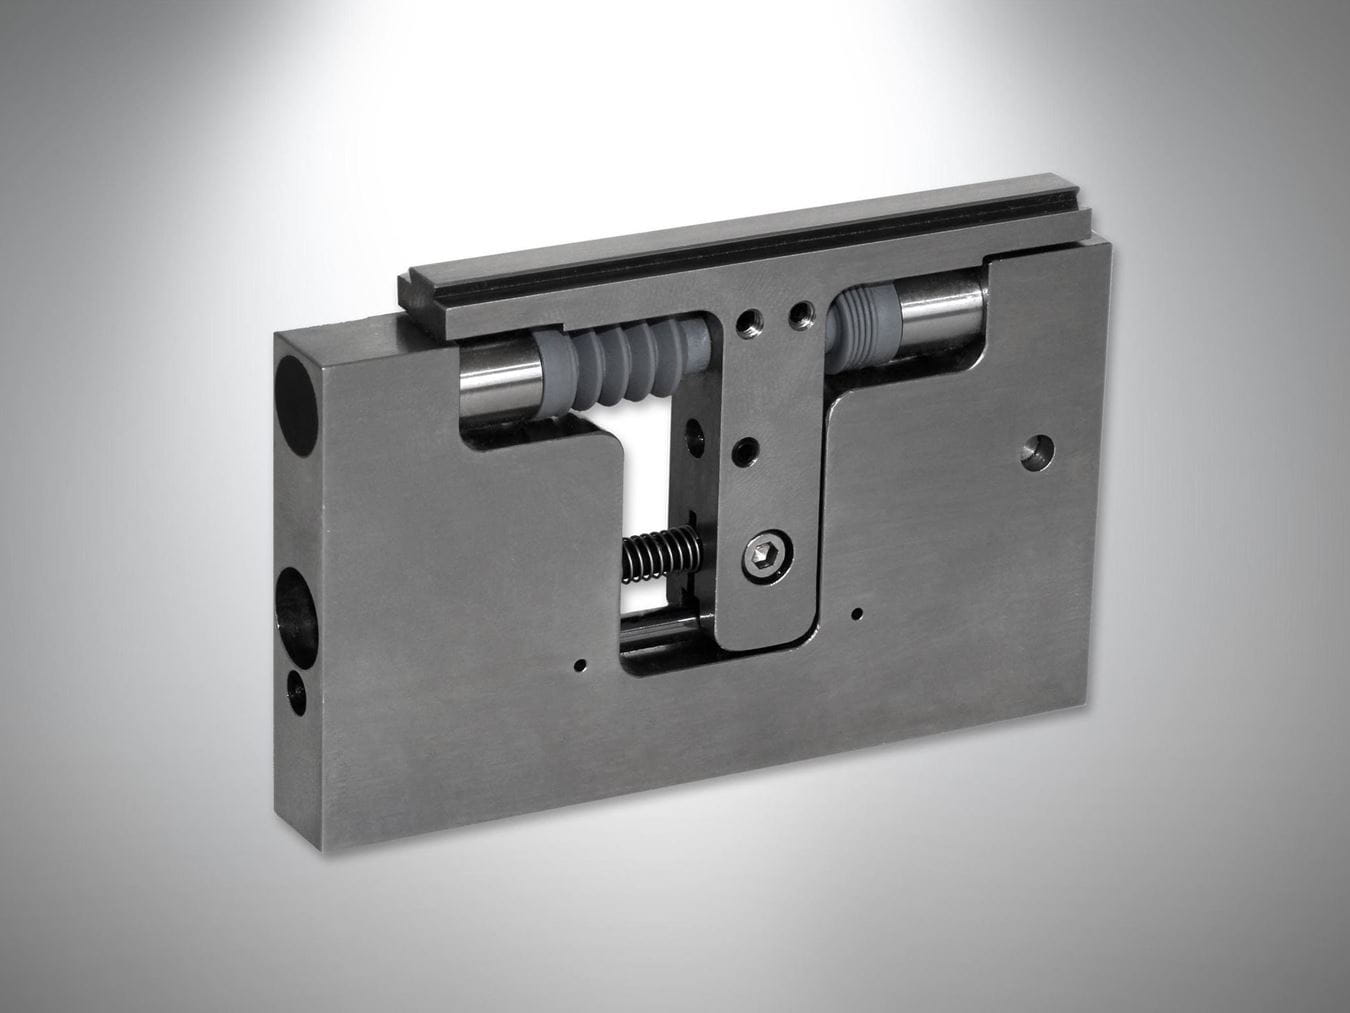
Measuring blocks
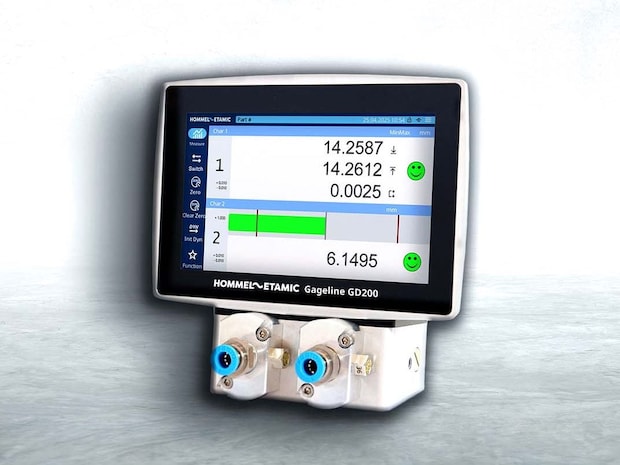
Gageline GD200
Used with pneumatic and/or tactile gauges, the Gageline GD200 programmable display performs dimensional measurements with extremely high precision. With ten measuring programs and multi-level program passwords, the display unit is easy to operate, even by untrained users, as no adjustments are necessary.
Display
- 5“ capacitive color touchscreen
- Bargraph or dial display
- Specially designed for harsh environments
Mastering
- Single master: zero adjustment within part specification limits
- Set of masters: automatic adjustment of amplification coefficient
Connectivity
- Large selection of modules for communication with a wide range of interfaces (sensors, air gauges, PLC, computer, etc.)
Measurement
- Quick and easy
- Direct reading
- Dynamic gauging with „hold“ feature: max, min, max-min, (max+min)/2, AVG
- Adjustable tolerance lines
- Compensation for surface finish
- Three measurement lines displayed
Downloads
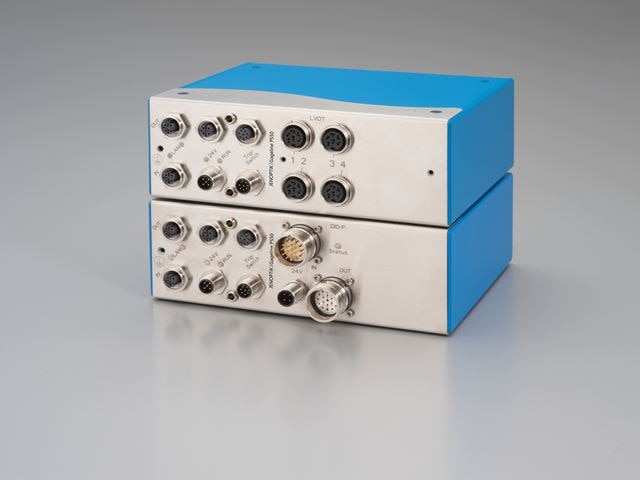
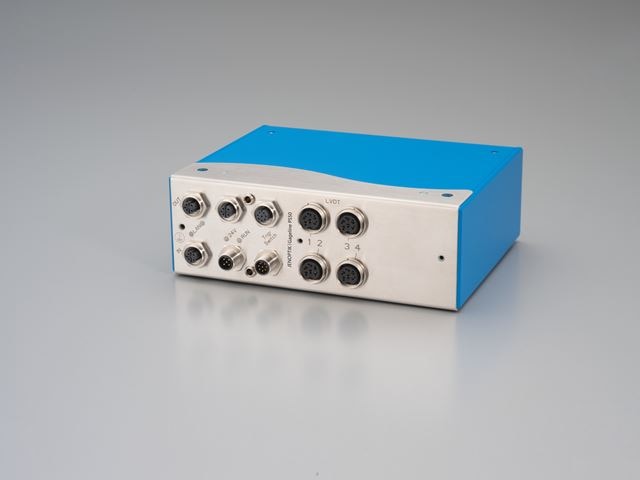
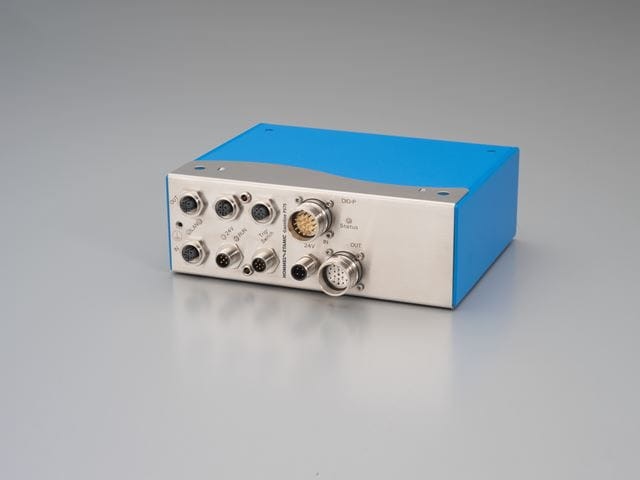
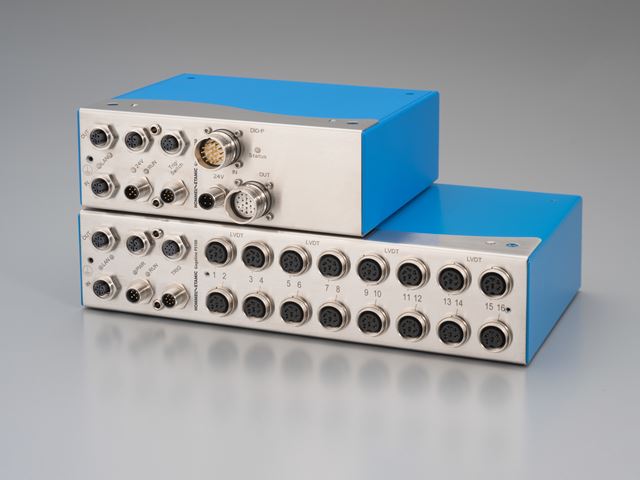
Probe satellites function as a receiver for pneumo-electronic transducers, or LVDT tactile sensors. Each measurement circuit is attached to one channel on the probe satellite, which corresponds to an assigned I.D. in the evaluation software.
The PS50, PS75 & PS100 probe satellites can perform dynamic or static dimensional measurements, with the option of connecting to a large variety of either HOMMEL ETAMIC, or other commercially available sensors.
Downloads
Sirius and GD600 industrial computers can be combined with Tolaris Premium and Tolaris Expert evaluation software, to offer flexible solutions that help control your production processes. They are designed for dimensional measurement analysis, as well as for encoder and joystick control.
- Suitable for harsh production environments
- Ultra-simple user interface with touchscreen
- Flexible USB and Ethernet interfaces
- Profibus, Profinet or CANbus/CANopen
- Compatible with probe satellites PS50, PS75 and PS100 via Ethernet
Downloads
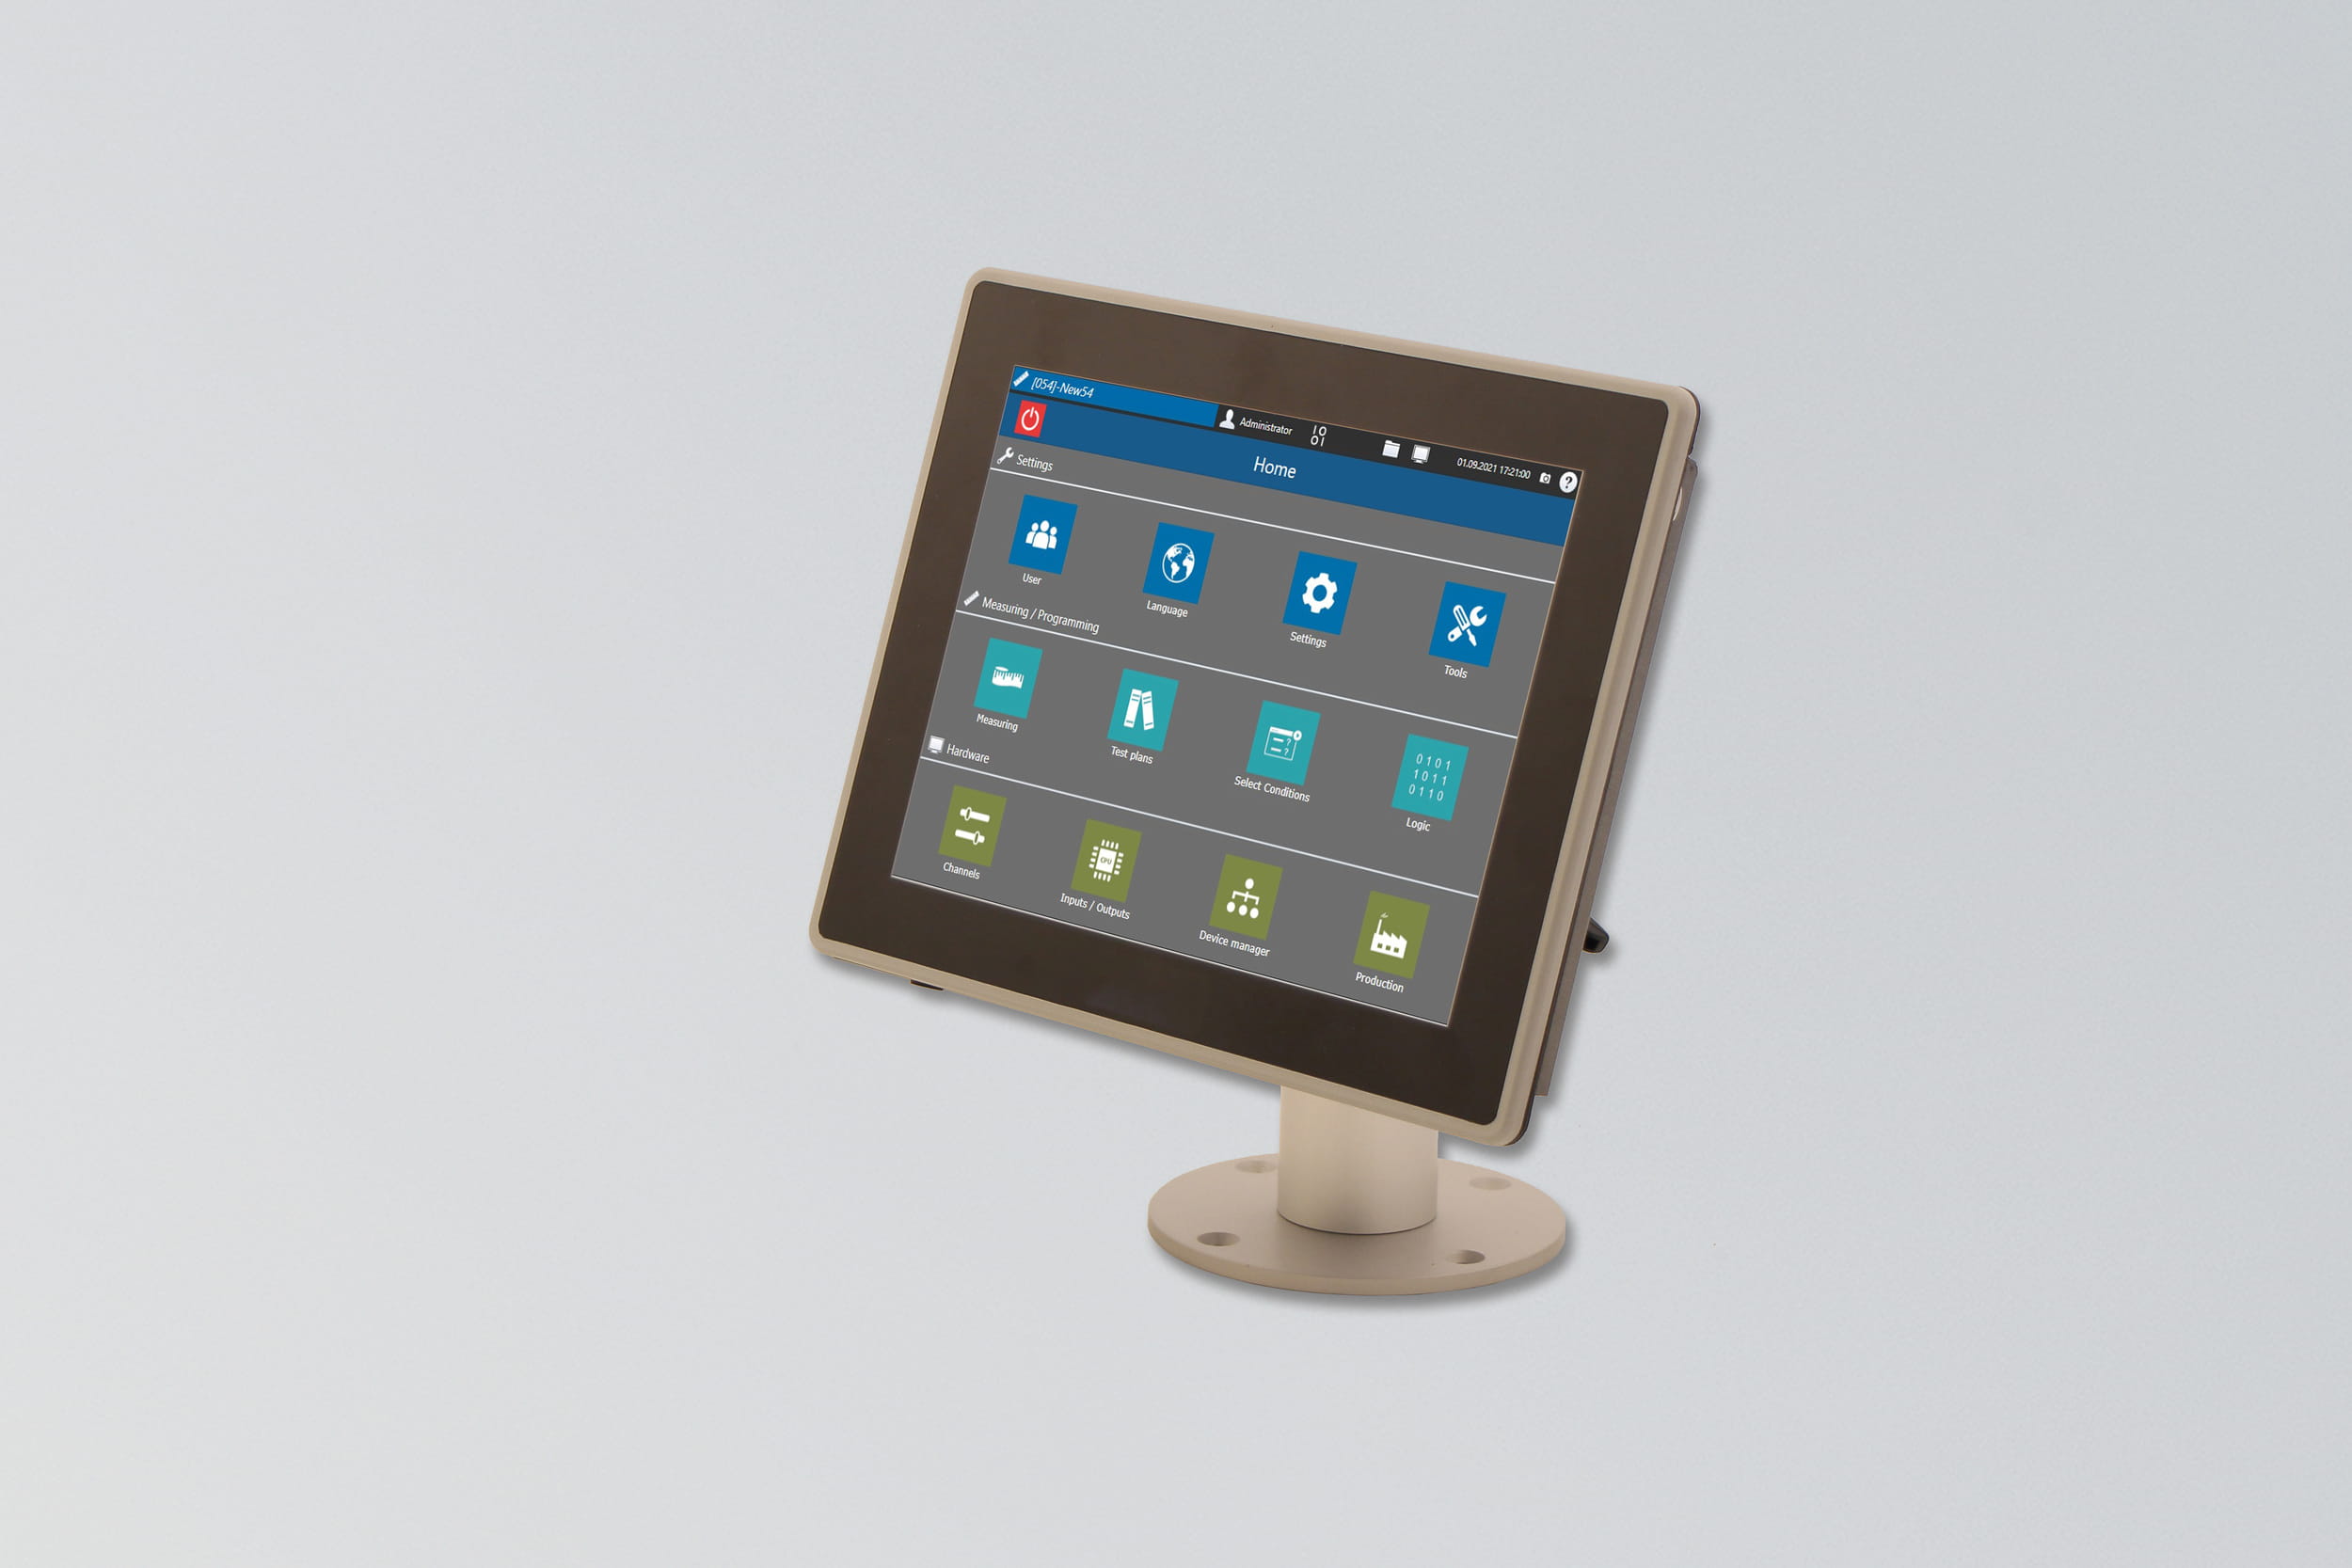
GD600
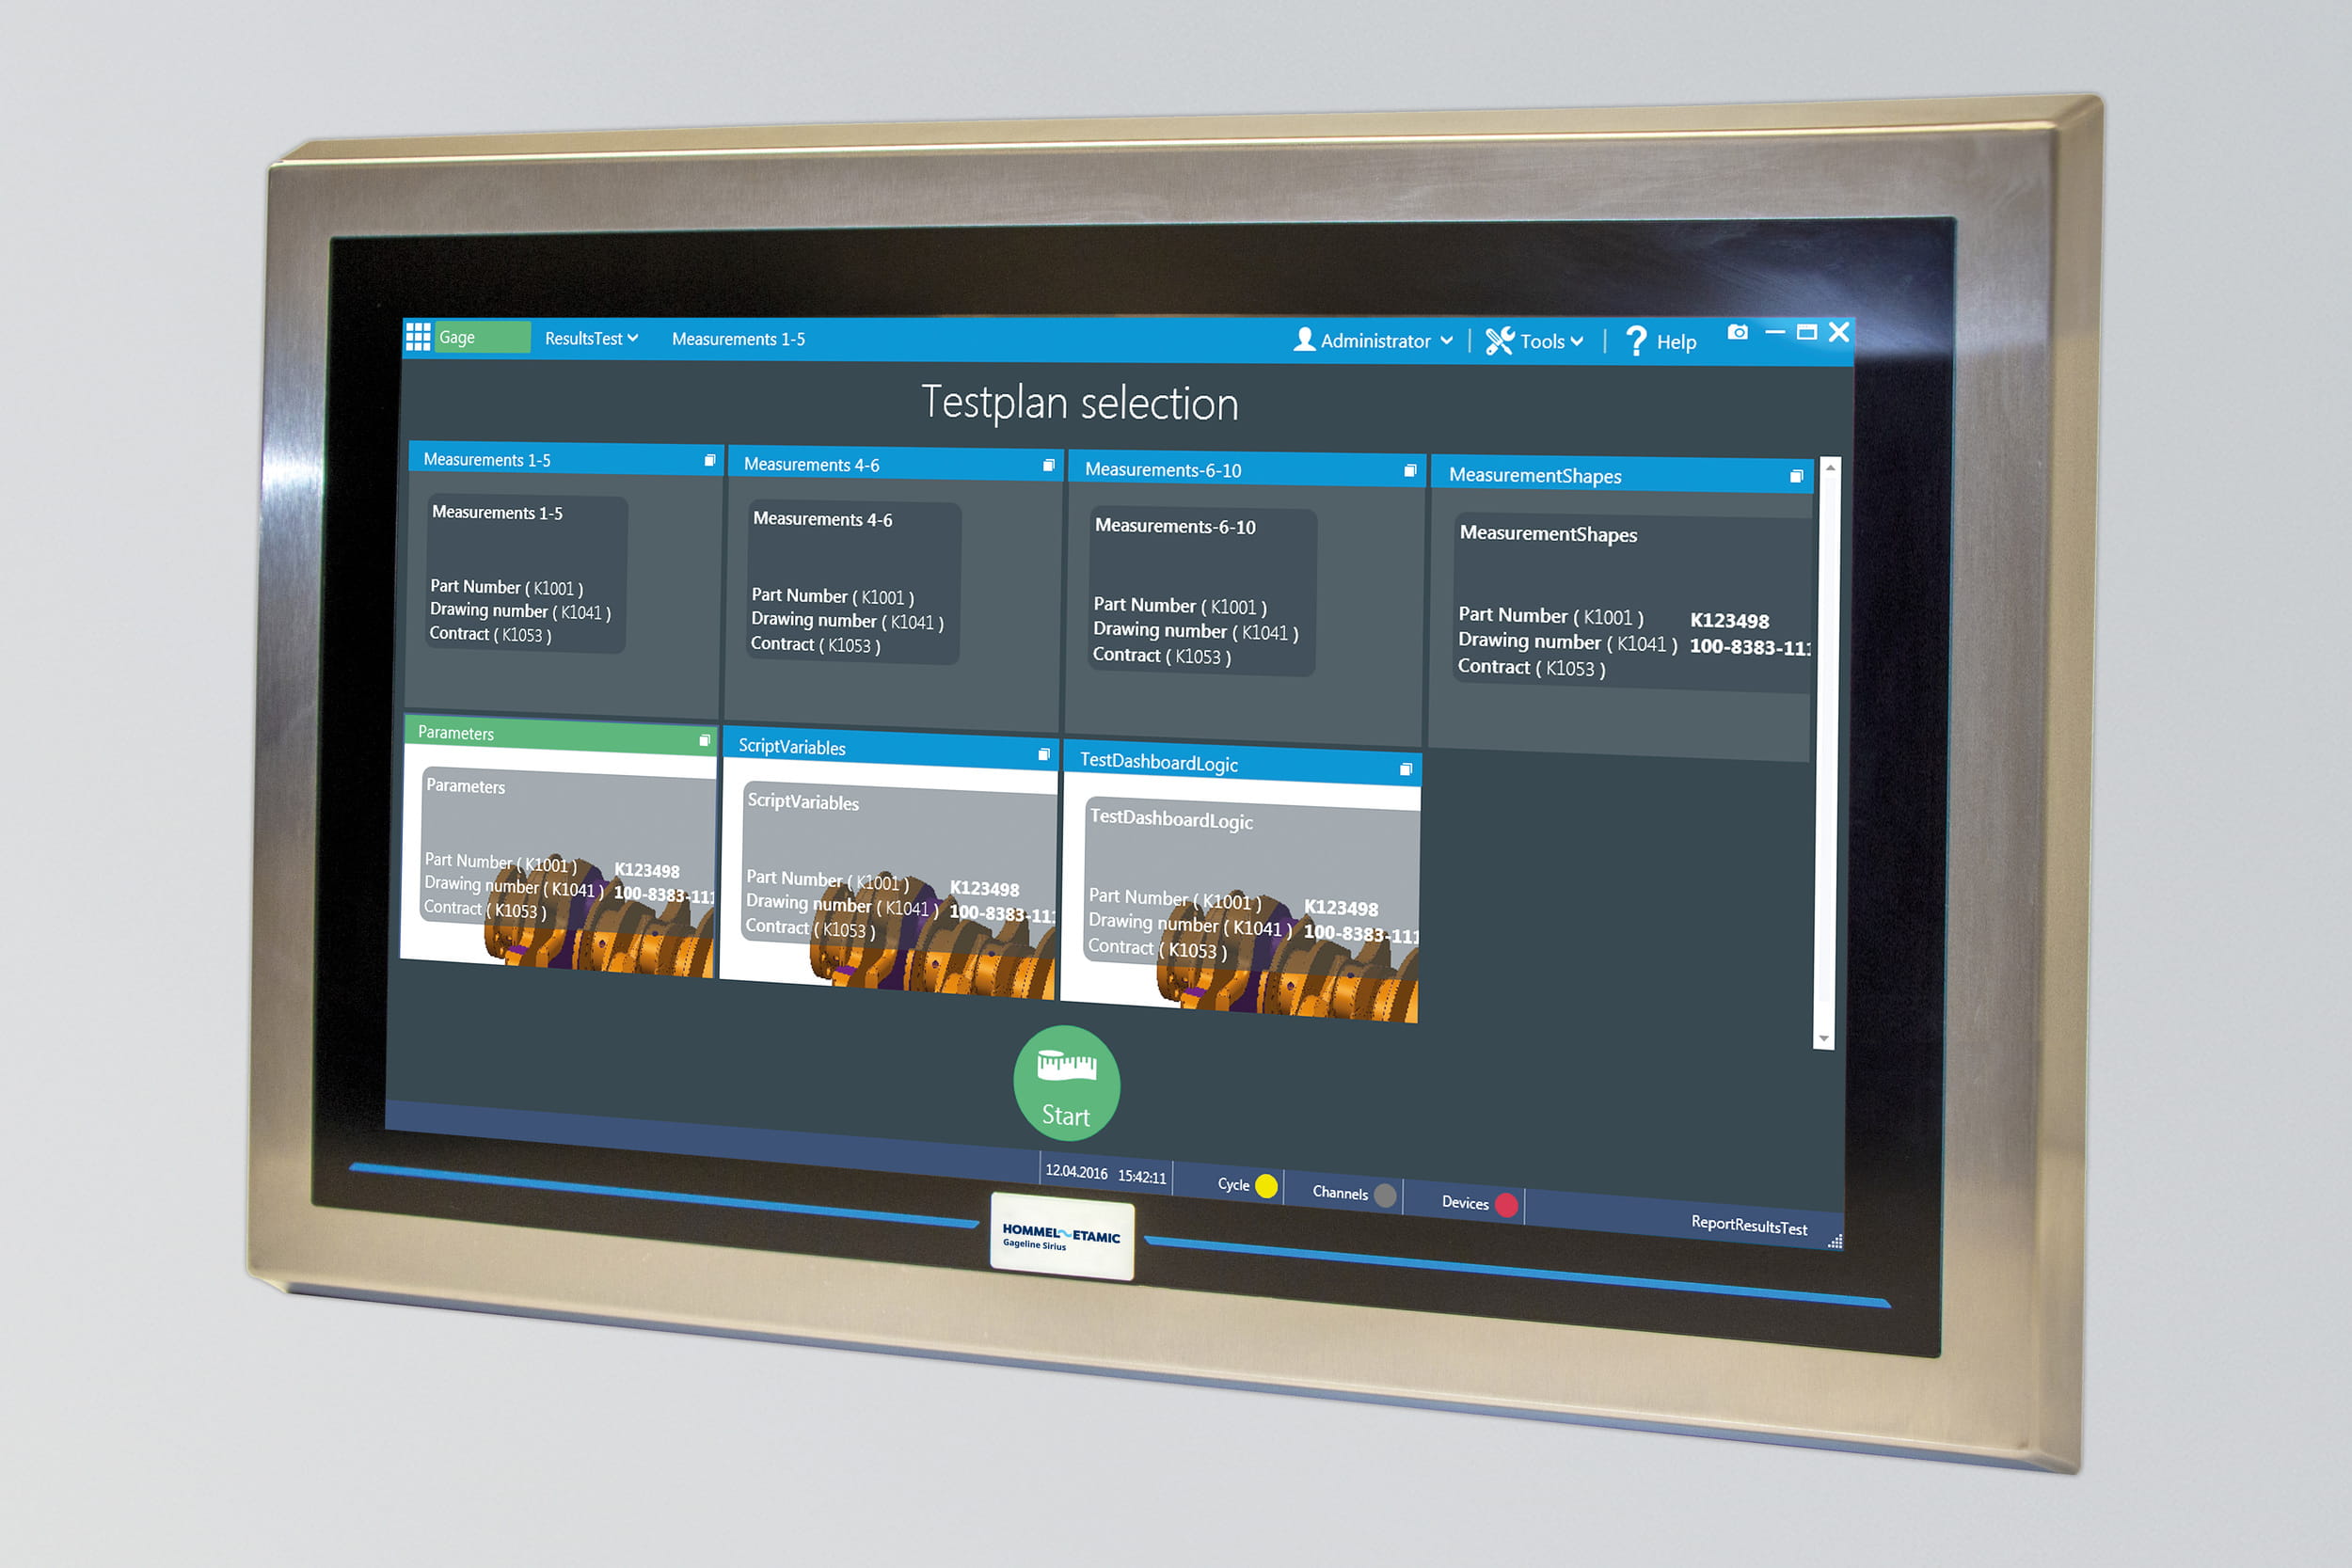
Sirius
Get more information on dimensional measurement


EditContact
